


Let me preface this with I’ve NEVER had PBR and WILL NEVER drink PBR. I’ll drink water instead, or die of thirst if there is no other option, lol. To say I like nice things, is a true statement. I LOVE me some Kate Spade. I’ll swoon over one of her handbags all day every day. But I’m also very frugal (CHEAP) when it comes to a lot of things. So when it came down to starting the master bathroom redo, the first item I wanted to replace was the basic contractor’s mirror that was originally installed by the builder.

It was boring and had zero style. My plan was to have 2 single separate mirrors, one over each sink. I found a mirror I loved from Shades of Light.

I loved the industrial and rustic look with the metal brackets and the wood. There was some definite swooning over this mirror……until I saw the price…..over $400! That was WAY out of my league. I felt like I could make them, so I scoured the internet looking for similar corner brackets. There were none to be found in the size on the mirrors (I looked for weeks and had my Dad looking for them too).
I came up with an alternate plan, but with a similar style. I was going to make a frame similar to the one around this picture but put “L” brackets on the front to add the industrial elements to it. I also wanted to stain the frames utilizing a vinegar and steel wool stain.

Here’s the supply list for this project:
2 – 1/8” thick mirrors 24” X 36”
4 – 1” X 3” White Pine 8’ long
4 – 1” X 2” White Pine 8’ long
Masonite for the back
24 – #4 ½ screws to hold the Masonite
16 – #8 3/8 screws for the “L” brackets
Apple Cider Vinegar
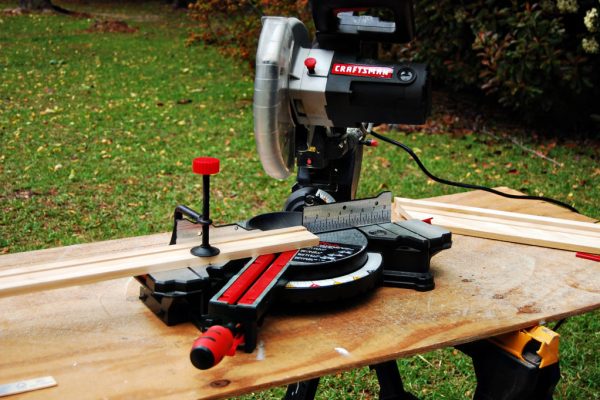
Using the table saw I cut a notch out of the 1 X 3 boards so that the mirror would fit flush with the wood. A 45 degree angle was cut on each end and on the 1 X 3’s and 1 X 2’s with the chop saw. I used a nail gun to attach the 1 X 2 to the 1 X 3’s. I didn’t want to put the entire thing together until after it was stained. Here’s what the pieces looked like:


I made the stain in a quart mason jar. Make sure the steel wool is completely covered in vinegar, or it will rust. I used 2 pieces of steel wool and let it sit for about 3 days before I started working with it. Different vinegars and different types of wood will produce different shades of stain. I looked at a bunch of different examples on Pinterest before starting out and decided on Apple Cider vinegar. The first application was really light. I was looking for something a little darker. After two coats I was pretty happy with the results.


I sealed in all with Annie Sloan’s clear wax.

The “L” brackets come in this really shiny metal, which was not what I was going for. I bought some Rust-oleum spray paint and used some self-etching primer to make sure the paint would stick to transform the brackets into a more rod iron look. The brackets come with screws, but they were too long and would have gone through the wood and hit the mirror. I bought shorter screws and painted them the same color as the brackets.

The next step was to put all of the piece together, which was a little more tricky than I thought it would be. It was difficult to keep everything squared up so that there were minimal gaps between the wood in the corners. I wasn’t looking for it to be perfect; I wanted a rustic look. So some space between the wood in the corners was okay.

I took down the old contractor’s mirror (that thing was pretty heavy!) and hung the two mirrors above each sink. You can see that I didn’t take it down when I originally painted the walls yellow, but the walls are going to get a new coat of paint before this bathroom makeover is done!

I’m pretty excited about these mirrors. They look okay right now, but they definitely don’t go with the yellow walls and maple cabinet. When the entire design comes together, I think it’s going to look amazing!


P.S. The total cost for both mirrors was less than half of the cost of one mirror from my inspiration picture, which is a total win in my book.


